
Who doesn't love to create a magnificent look where they live? In the modern era, each homeowner and businessperson is excited to design their space with porcelain tiles, as it offers a sleek and enduring finish to any space. However, installing it on the surface can make or break the look. It may seem simple, but it needs careful handling and precise cutting to make an elegant appeal. From uneven levelling to poor coating, even small mistakes can lead to big problems in the space's look.
Let's dive into the blog to explore the common mistakes that take place in installing porcelain tile and how to avoid them to get a perfect space look.
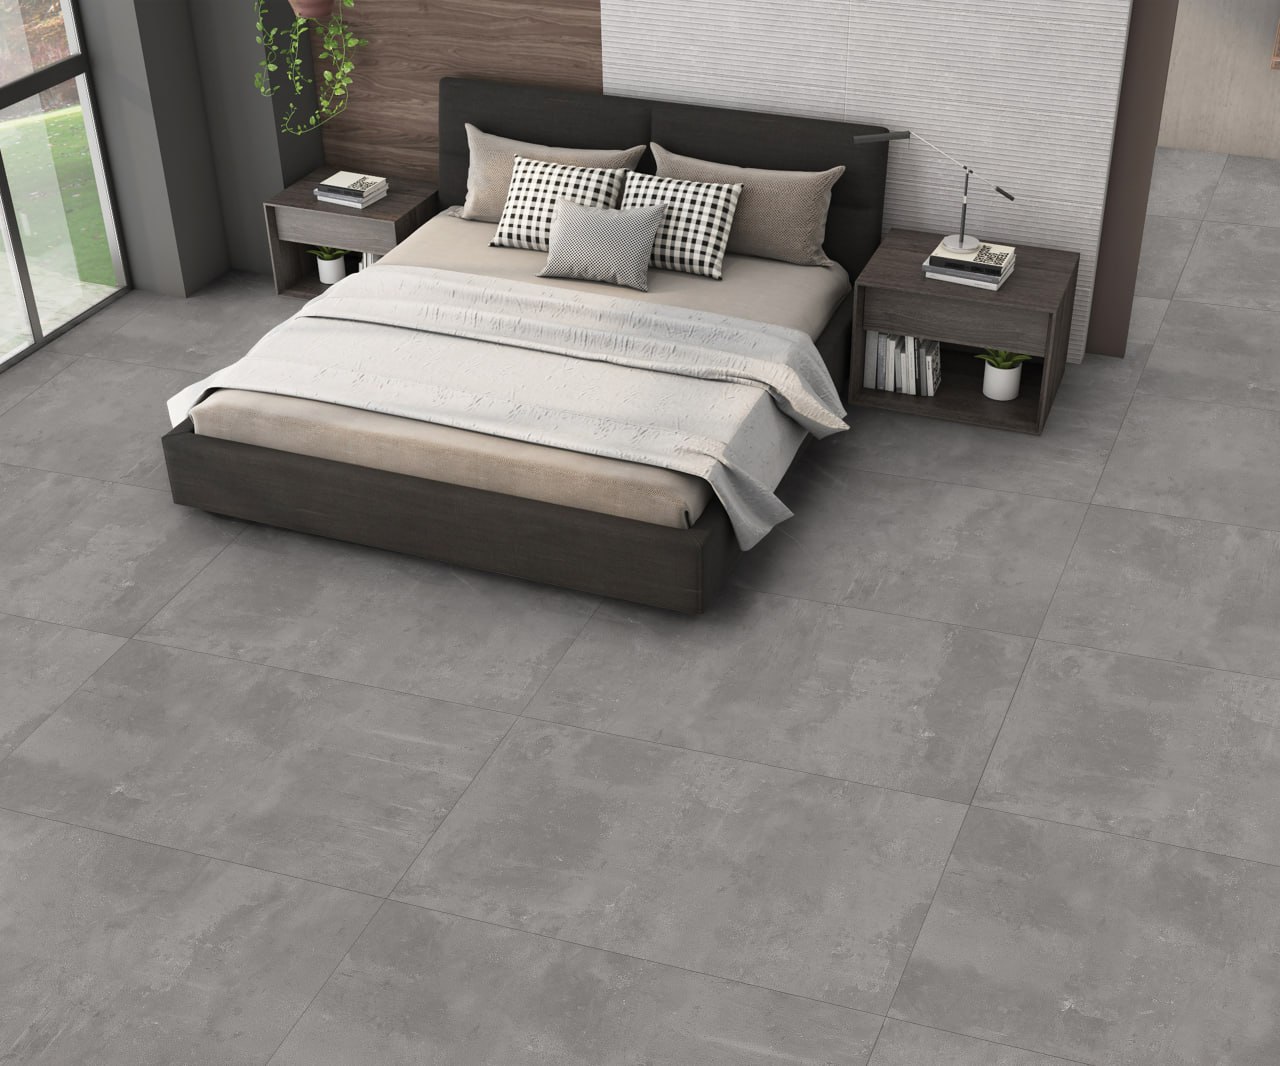
Mistakes To Avoid In Laying Porcelain Tiles
Porcelain tiles are made of clay and other natural resources that give a luxurious look to any space. However, it needs proper planning for installing the tiles to get a perfect finish. Here are the common mistakes and tips to avoid when installing porcelain tiles.
Uneven Surface Preparation
Clean and even concrete floors and walls are the right space for porcelain tile installation. The levelled substrate in the spaces ensures tile durability and longevity. Ignoring it can cause tiles to crack or loosen, or even appear uneven, and lead to expensive repairs and installation processes. The porcelain tile manufacturer designs its backside with a smooth and non-porous surface to facilitate refinishing the finish of the floor. Even a small amount of dust on the surface can make the tile look uneven and lock up the air.
To avoid this, before installing the porcelain tiles, sweep, scrub and dry the areas to remove all the old paint, dust or moisture on the surface and ensure the underlying surface is even and smooth. For cracks or uneven floors or walls, apply the levelling compound and replace weak subfloor areas with cement boards to make a flat surface.
Insufficient Subfloor Preparation
Proper subflooring is the base for a solid foundation for tiles. Uneven floors have a high chance of cracking and damaging the floor. So it is essential to check if the subfloor is strong and free from cracks. Inspect the subfloor for dips and humps, and install backer and other floor levelling products to create a thick base for tile installation. Follow the rule of 1.25 inches (32 mm) of subfloor casing topped with an appropriate base layer to create a stable surface for tile installation.
Applying the Wrong Adhesive Glue
Not all glue or paste can be suitable for porcelain tiles. According to surroundings such as heavy wet or heavy foot traffic areas, choose the right adhesive to avoid risks of poor tile bonding and water penetration. Always select pastes and glues that are labelled for porcelain or “large format" to avoid these kinds of issues. Read the description, manufacturer's suggestion, and use recommendations in the adhesive to make a strong bond between the floor and tiles. If you're installing bathroom or kitchen tiles, check out those that can withstand water and maintain high bonds with the floor.
Skipping Layout Planning
Each porcelain tile comes in various patterns and designs to give you a stunning space. Before installing the tiles, get a proper idea of tile patterns and how they can be sourced from porcelain tile exporters. Hurrying into installing tiling without mapping out tile patterns and grout lines only leads to awkward cuts, misaligned edges, and a messy look.
To avoid this mess, a proper tile layout plan that includes measurements, dry-laying tiles, and marking reference lines with a chalk reel or laser level is necessary to create a perfect visualisation. Start measuring from the room’s centre and work out with symmetry to make your space stand out. Add a 10-15% surplus to your tile order for waste and special cuts, and use spacers to make grout lines to give unique visuals.
Incorrect Tool Selection
Selecting the right trowel plays a significant role in applying the paste or glue on the floor, as it helps to cover the uneven areas and build a strong bond with the floor. Without the right-sized trowel, the bonding paste spreads unevenly and makes an uneven subfloor and weak bonding. Use specific sizes, such as trowels with 12mm notches for 400mm (40cm) tiles and 15mm notches for large-format tiles, to make a deep and balanced surface.
Improper Use of Glue
When applying adhesive, it needs to be spread in an even form – not too thick or thin. Because of the uneven spread of glue, it traps air in the spaces and makes the tile crack over time. Spread the paste equally on the surface to provide a supportive grip for the tiles. After applying the bonding agent in portions, press the tile thoroughly to remove air pockets and allow them to dry completely to make them shine even in heavy traffic areas.
Applying Poor Grout
The tile grout is more than filling gaps; it helps the tile to stay stable and prevents water from entering. By applying the improper grout or mixing it too thin or too thick for the porcelain tiles, it can weaken the lines and take time to discolour and crack over time. Instead of using poor grout, use sanded grout for strong tile bonding, which helps eliminate excess air and makes it stay in its original colour.
Rushing Curing Time
The tiles need to dry for some time to maintain a sleek look. Walking on the tile during drying or curing times makes the tiles and grout remain unsettled and creates movement, leaks, and adhesion problems in the areas. Follow the porcelain tile manufacturer recommended curing times for both adhesive and grout so the tiles can stay strong and unfading under moisture and heavy use.
Final Thoughts
The outlook of porcelain tiles never fails to attract the user. Looking for a quality porcelain tile exporter? Check with Neelson Ceramic Ltd, which offers an exclusive collection of porcelain and more tiles to make your space shine even in heavy traffic areas. Before laying the tiles, follow the instructions on measuring portions of the grout and adhesive for the surface to create a strong bond between the floor and tiles. With this guidance, both the homeowners and DIY enthusiasts can avoid costly errors and achieve a flawless porcelain tile installation that enhances any space to look beautiful and durable.